Have you ever wondered if you could enjoy garden-fresh green beans all year round? Home canning lets you do just that. It keeps the taste of summer alive long after the harvest. This guide will show you how to preserve vegetables, especially green beans, a favorite in many homes.
We’ll cover everything from picking the freshest beans to mastering the canning process. Get ready to explore the rewarding world of home canning. You’ll see how simple it is to keep your green bean harvest for later enjoyment.

Understanding the Basics of Green Bean Canning
Green bean canning is a popular way to preserve the fresh taste of summer, saving on seasonal green beans and enjoying them year-round.
Why Can Green Beans at Home
Home canning green beans has many perks:
- It saves money on grocery bills
- You get to pick the ingredients and quality
- It helps reduce food waste
- It makes you feel more self-sufficient
Safety Considerations
When you’re canning green beans, safety is key. Here’s what to do:
- Use a pressure canner for low-acid veggies like green beans
- Clean all your equipment well
- Check jars for any cracks or chips
- Follow the recommended time and pressure for processing
Required Equipment
To begin canning, you’ll need these things:
- Pressure canner
- Canning jars with new lids
- Jar lifter and funnel
- Bubble remover and headspace tool
With these basics, you can start canning and enjoy summer green beans all year.
Selecting and Preparing Your Green Beans
The first step in canning is picking the right beans, especially during the green bean harvest season when they are fresh and perfect for preserving.

Choosing Fresh and Quality Beans
Choose bright green, firm beans that snap easily, avoiding any with blemishes or decay. For the freshest taste, harvest beans between mid-summer and early fall.
Cleaning and Trimming Methods
Rinse the beans under cool water to remove dirt, trim the ends, and remove strings. Snap them into smaller pieces or leave them whole based on your preference.
Size and Cut Recommendations
Cut your beans into 1 to 2-inch pieces for even cooking. If you prefer whole beans, choose ones that are about 4 inches long. Uniform sizes help your canned green beans taste and feel the same.
- Sort beans by size for even cooking
- Remove any discolored or damaged beans
- Cut larger beans into smaller, uniform pieces
Essential Equipment for Canning Success
Canning beans needs the right tools for safety and quality. Whether you’re using pressure canning or water bath canning, having the right gear is key.
For pressure canning, you’ll need a pressure canner. This heavy-duty pot keeps food at safe temperatures. Look for a canner with a good pressure gauge and safety valve.
Water bath canning uses a big pot with a rack. It’s not for low-acid foods like green beans, but it’s good for high-acid preserves.
Important items for both methods include:
- Mason jars in various sizes
- New lids and bands
- Jar lifter for safe handling
- Bubble remover and headspace tool
- Funnel for filling jars
- Tongs for handling hot lids
Invest in quality equipment for safe and tasty canned green beans. With these tools, you’ll be ready to preserve your harvest using pressure canning or water bath canning.
How to Can Green Beans
Canning at home is a great way to keep your harvest fresh. You can use two methods: raw pack and hot pack. Both methods are good for keeping the beans’ flavor and texture.
Raw Pack Method
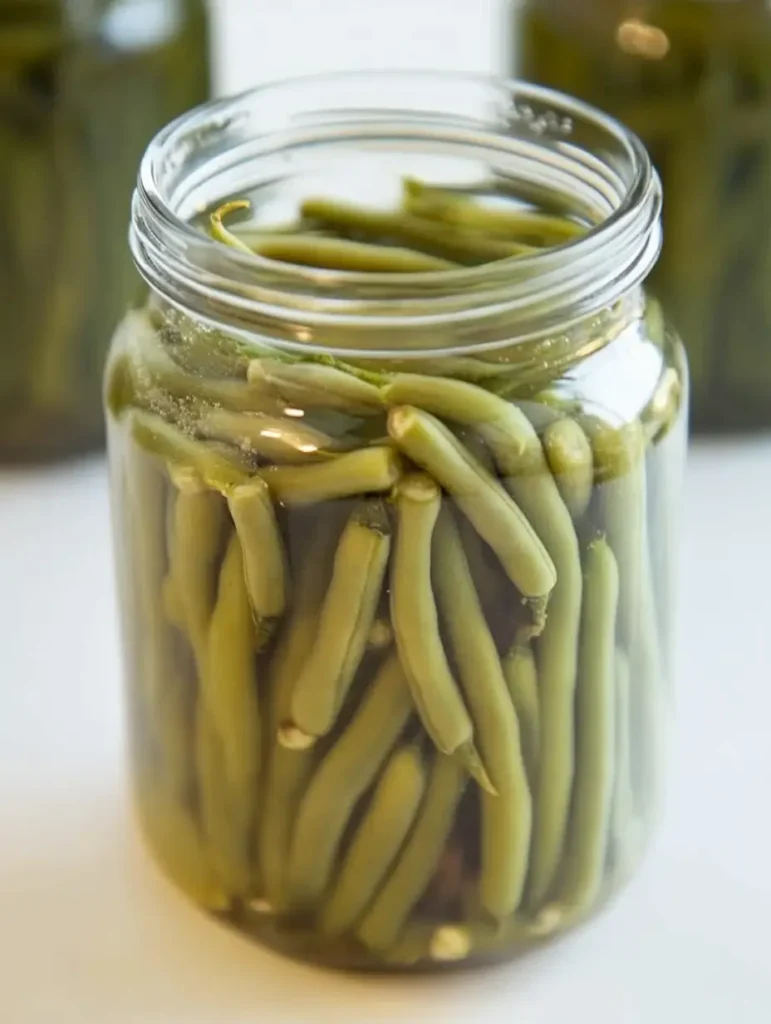
The raw pack method is easy and fast. Fill fresh, clean green beans tightly into sterilized jars. Leave about an inch of space at the top.
Then, fill the jars with boiling water. Make sure the water covers the beans completely.
Hot Pack Method
The hot pack method involves boiling your green beans for 5 minutes first. This removes air and shrinks the beans a bit. Then, pack the hot beans into jars.
Cover them with the cooking liquid, leaving an inch of space at the top.
Adding Salt and Seasonings
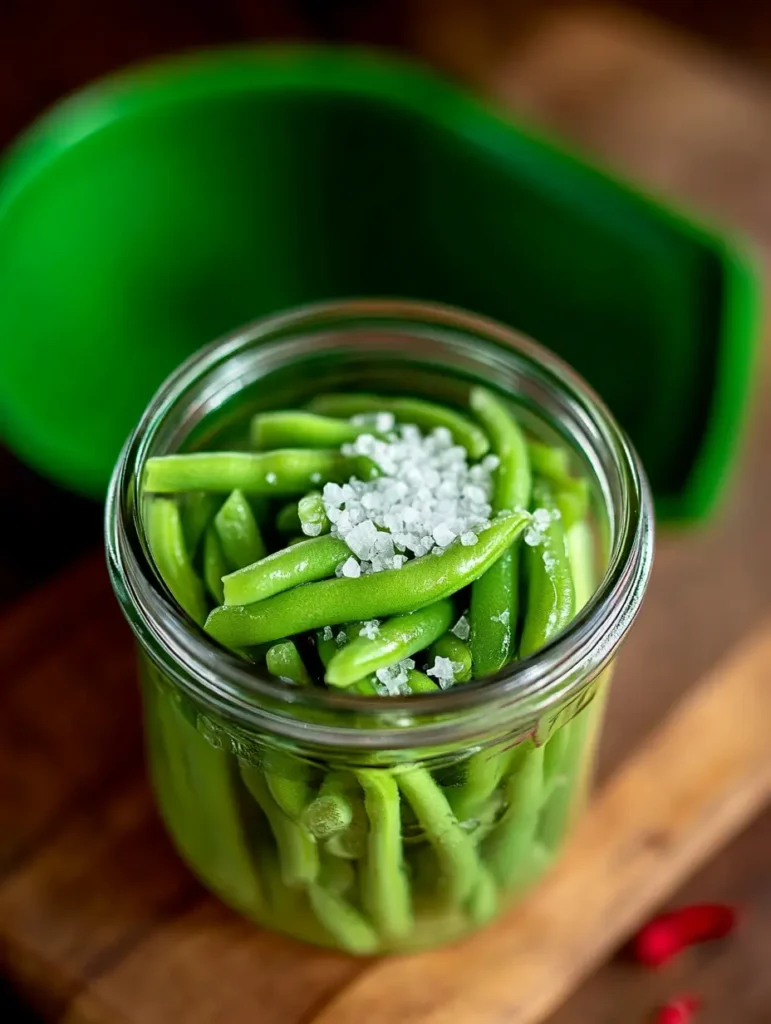
To add flavor, put 1/2 teaspoon of salt per pint jar before sealing. You can also try herbs and spices. Dill, garlic, or red pepper flakes.
Don’t forget to remove air bubbles and clean the jar rims before sealing. Process the jars in a pressure canner based on your altitude and jar size. Learning how to can right ensures you’ll have tasty, home-preserved veggies all year.
Pressure Canning vs. Water Bath Methods
Choosing the right method for canning is crucial. Pressure canning and water bath canning are two common methods, but they’re not the same for all foods.
Understanding Pressure Canning Safety
Green beans are low-acid vegetables that require pressure canning for safe preservation. Unlike water bath canning, pressure canning reaches higher temperatures to destroy harmful bacteria found in low-acid foods.
Water bath canning is suitable for high-acid items like fruits and pickles but isn’t safe for preserving vegetables like beans. By using a pressure canner, you ensure your preserved produce remains safe and delicious for extended storage.
Processing Times and Pressure Levels
Pressure canning green beans needs specific times and pressure levels. These depend on your altitude and jar size. For pint jars at sea level, process for 20 minutes at 10 pounds of pressure. Quart jars need 25 minutes.
- Adjust pressure for higher altitudes
- Follow tested recipes for accurate times
- Never reduce processing times
Understanding these methods helps you safely preserve your beans. Always put safety first when canning. This way, you can enjoy your harvest all year round.
Processing Times and Temperature Guidelines
When pressure canning green beans, it’s important to follow the right times and temperatures. This ensures your food is preserved safely and effectively. The time needed can vary, usually between 20 to 25 minutes, based on jar size and where you live.
For places up to 1,000 feet, can pints for 20 minutes and quarts for 25 minutes at 10 pounds of pressure. If you live higher, you’ll need to adjust the pressure:
- 1,001 to 2,000 feet: 11 pounds of pressure
- 2,001 to 4,000 feet: 12 pounds of pressure
- 4,001 to 6,000 feet: 13 pounds of pressure
- 6,001 to 8,000 feet: 14 pounds of pressure
Keep the pressure steady during canning. If it falls, you must raise it and start over. Always use a good pressure gauge and check it often. Keeping the right temperature is crucial for safe and successful canning.
Storage Requirements and Shelf Life
Proper storage is key to enjoying your canned green beans for months. Food preservation methods like canning extend the shelf life of fresh produce. But, it’s important to follow specific guidelines to maintain quality and safety.
Proper Storage Conditions
Store your canned green beans in a cool, dry place away from direct sunlight. A pantry or basement works well. Keep the temperature between 50-70°F for best results. Avoid areas prone to extreme temperature changes, which can affect seal integrity.
Signs of Spoilage
Check your canned vegetables before use. Look for these warning signs:
- Bulging or leaking lids
- Unusual odors when opened
- Discoloration or mold growth
- Cloudy liquid or foam
If you notice any of these issues, discard the jar immediately. It’s not worth risking your health.
Expected Shelf Life
Properly canned green beans can last 1-5 years when stored correctly. For best quality, use within 12-18 months. After opening, refrigerate and consume within 3-4 days. Remember, these are guidelines. Always use your senses and err on the side of caution when it comes to food safety.
Troubleshooting Common Canning Problems
Canning green beans is rewarding, but challenges can arise. Here’s how to tackle common issues:
- Seal failures: Check jar rims for nicks or debris and clean lids thoroughly. Replace faulty lids and ensure the right headspace.
- Discoloration: Hard water or overcooking can cause this. Use soft water if possible and stick to recommended cooking times. Discolored beans are safe to eat but may lose visual appeal.
- Texture changes: Mushy beans result from overcooking or overpacking jars. Use the raw pack method for firmer beans, and follow exact cooking times.
Tips for success:
- Use fresh, high-quality beans.
- Maintain proper pressure and temperature during processing.
- Store jars in a cool, dark place to preserve quality.
With these solutions and tips, you’ll master canning green beans and enjoy flavorful results year-round.
Tips for Maintaining Quality and Flavor
Canning green beans at home lets you enjoy their fresh taste all year. To keep your preserved vegetables tasting great, focus on texture and color. Here are some tips for successful canning.
Texture Preservation
Keep your canned green beans crisp by avoiding overcooking. Process them for the exact time recommended in your recipe. Don’t let the beans sit in hot water after blanching. Instead, cool them quickly in an ice bath. This stops the cooking process and helps maintain a crisp texture.
Color Retention Methods
To maintain the vibrant green color of your beans, add a pinch of salt or a small amount of lemon juice to the canning liquid. Salt preserves the natural hue, while the acid in lemon juice locks in the beans’ color during canning.
Store your canned green beans in a cool, dark place to preserve their texture and color. These tips ensure your home-canned beans remain fresh and flavorful for months.
Seasonal Considerations for Green Bean Canning
The green bean harvest season is key for home canners. Knowing when to pick and process beans is vital for quality. Let’s look at the best times to harvest and how to handle lots during peak season.
Best Harvesting Times
Green beans are best picked in late summer to early fall when they’re young and tender, about 4-6 inches long. The pods should snap easily when bent.
For optimal flavor and texture, harvest in the morning after the dew has dried but before the heat of the day sets in.
Bulk Processing Strategies
During peak season, you might have more beans than you can handle. Here are tips for canning in large quantities:
- Set up an assembly line with family or friends to clean, trim, and pack beans quickly
- Use a pressure canner to process multiple batches in one day
- Invest in large canning pots to increase your capacity
- Plan your canning schedule to coincide with your garden’s peak production
Freshness matters when canning. Process green beans within 24 hours of harvesting for the best quality. Plan ahead to make the most of the green bean harvest and enjoy your home-canned beans all year.
Using Your Canned Green Beans
Canned beans are versatile and perfect for many dishes. Add them to casseroles or salads for a quick, nutritious boost. They also make an easy side dish with just a reheat and seasoning.
For hearty meals, use them in soups or stews. Pair with potatoes and ham for a comforting one-pot dinner. Upgrade classic green bean casserole with your homemade beans for extra flavor.
Creative ideas include:
- Stir-frying with garlic and soy sauce
- Blending into creamy green bean soup
- Mixing with pasta, tomatoes, and feta
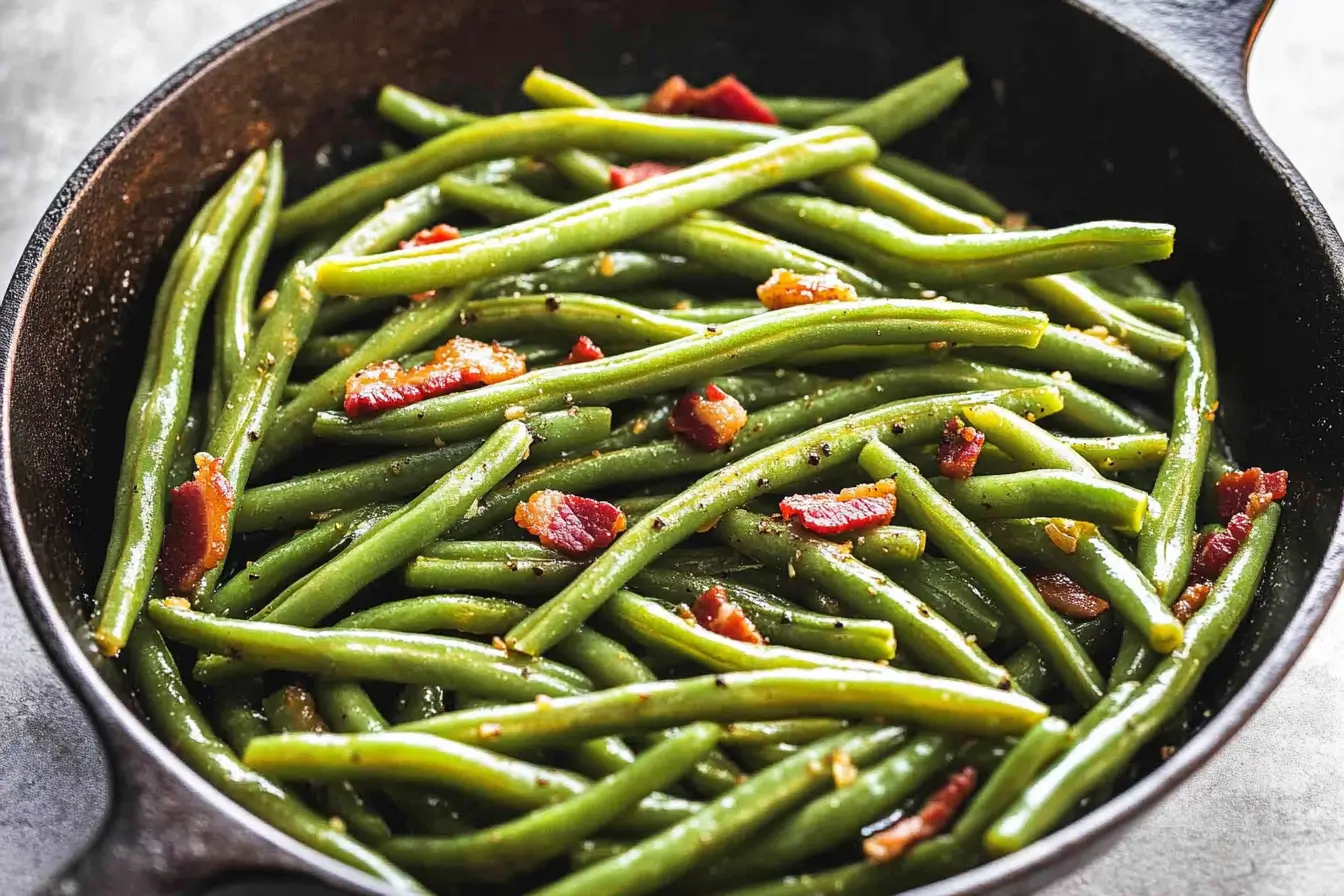
- Sautéing with bacon and onions
Canned green beans are pre-cooked, so they only need brief heating. They’re perfect for quick, delicious meals anytime.

Conclusion
Canning green beans lets you enjoy fresh summer veggies all year, save money, and provide healthy, homegrown food. Choosing the right beans and sterilizing jars are key.
Always follow tested recipes and guidelines to ensure safety. Whether you use the raw pack or hot pack method, your harvest will be delicious all year. Gather your tools and start canning!
FAQ
Q: Can you safely can green beans without a pressure canner?
A: No, green beans require a pressure canner. They are low-acid vegetables, and a pressure canner is the only way to process them at high enough temperatures to kill harmful bacteria and prevent botulism.
Q: What is the best way to can fresh green beans?
A: Use a pressure canner for green beans. You can choose the raw pack or hot pack method. A raw pack involves packing uncooked beans into jars, while a hot pack requires briefly boiling the beans before canning.
Q: Is it better to can green beans raw pack or hot pack?
A: Both methods are safe, but hot pack is often preferred for better quality. It reduces air in the jar, resulting in firmer beans and fewer floating beans. Raw pack is faster but may lead to a looser pack in the jar.
Q: Are canned green beans cooked before canning?
A: It depends on the method. For raw pack, beans go into jars uncooked but are fully processed during canning. For hot pack, beans are briefly boiled before canning, which starts the cooking process.
Q: How many cups in a can of green beans
A: A standard 14.5-ounce can of green beans contains about 1 3/4 cups when including liquid and approximately 1 1/2 cups when drained.
Q: How do you make green beans less sweet?
A: To reduce the sweetness of green beans, avoid adding sugar or sweeteners during cooking. Balance the flavor by adding savory or acidic ingredients like garlic, lemon juice, vinegar, or soy sauce to enhance their natural taste.
Q: How long do home canned green beans last?
A: Properly canned and stored green beans can last 1-5 years. Consume the best quality and taste within 12-18 months. Always check for signs of spoilage before eating.


