Have you ever thought of capturing autumn in one bite? Homemade candied apples might do that. These treats have been a hit for generations, especially around Halloween and during the fall.
This guide will teach you how to make these tasty treats at home. Learn to pick the right apples and coat them in candy to impress everyone with these classic fall favorites!
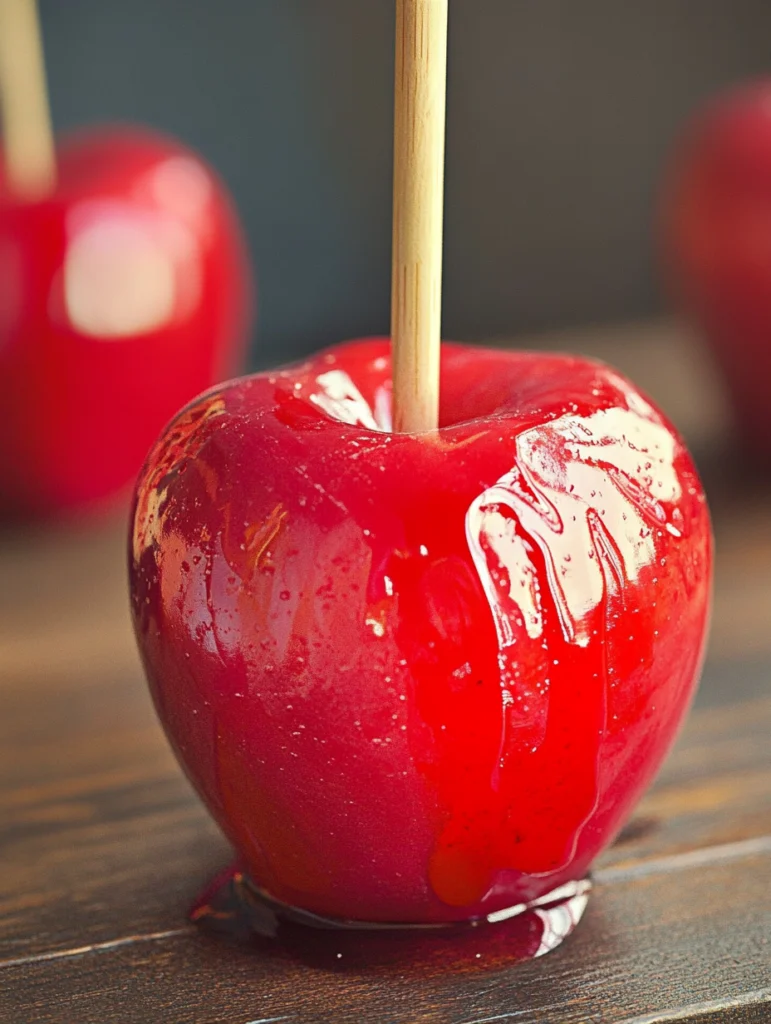
The History and Tradition of Candy Apples
Candy apples have been a favorite for over a century. They originated in 1908 when William Kolb, a Newark candy maker, dipped apples in red cinnamon candy. This sweet treat quickly gained popularity at autumn festivals and Halloween parties for its perfect pairing of crisp apples with a hard candy coating.
Different versions of candy apples exist worldwide. In Germany, chocolate-covered apples called Schokoladenäpfel are popular, while Latin America offers tamarind-coated apples for a sweet and sour twist, highlighting their global appeal.
Making candy apples at home brings fairground magic to your kitchen. With a few simple ingredients, you can recreate this nostalgic treat and share it with loved ones.
Essential Ingredients for Perfect Candy Apples
To make delicious candy apples, you need the right ingredients and tools. Let’s look at what you need to make these treats at home.
Selecting the Right Apples
For the best results, choose firm, crisp apples. Granny Smith apples are great because they’re tart. If you like it sweeter, try Fuji or Gala apples.
Candy Coating Components
The secret to a perfect toffee apple coating is in the ingredients. You’ll need:
- Granulated sugar
- Light corn syrup
- Water
- Food coloring (optional)
- Flavoring (vanilla extract or cinnamon)
Mix these to make a smooth, glossy coating. It will harden beautifully on your apples.
Required Tools and Equipment
Before you start, gather these items:
- Heavy-bottomed saucepan
- Candy thermometer
- Wooden skewers or popsicle sticks
- Parchment paper
- Baking sheet
With these ingredients and tools, you can make your own candy apples. Try different coatings and decorations to create the perfect treat.

Making Candy Apples
Making candy apples is a fun and rewarding process. It results in sticky, sweet snacks perfect for any occasion. Let’s explore the steps to create these delectable treats.
Preparing the Apples
Start by washing and drying your apples thoroughly. Remove the stems and insert wooden sticks into the top of each apple. Chill the apples in the refrigerator while you prepare the candy coating.
Making the Candy Coating
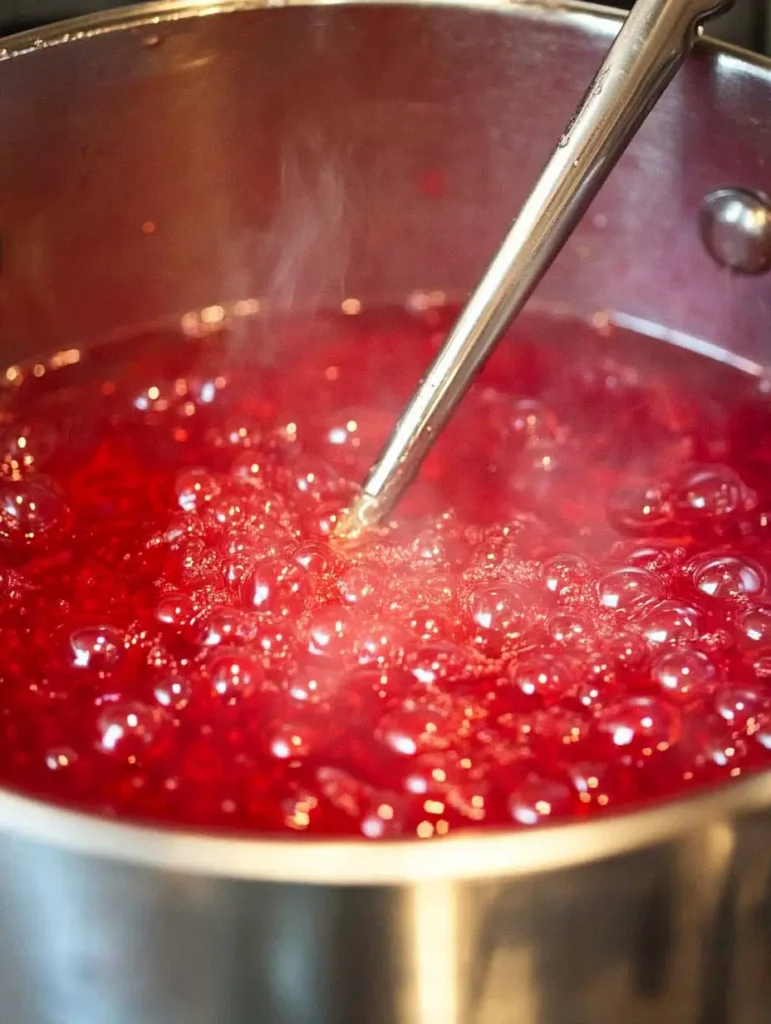
In a medium saucepan, combine sugar, corn syrup, water, and food coloring. Heat the mixture over medium-high heat, stirring until the sugar dissolves. Use a candy thermometer to monitor the temperature. When it reaches 300°F (hard-crack stage), remove from heat.
Dipping and Setting Techniques
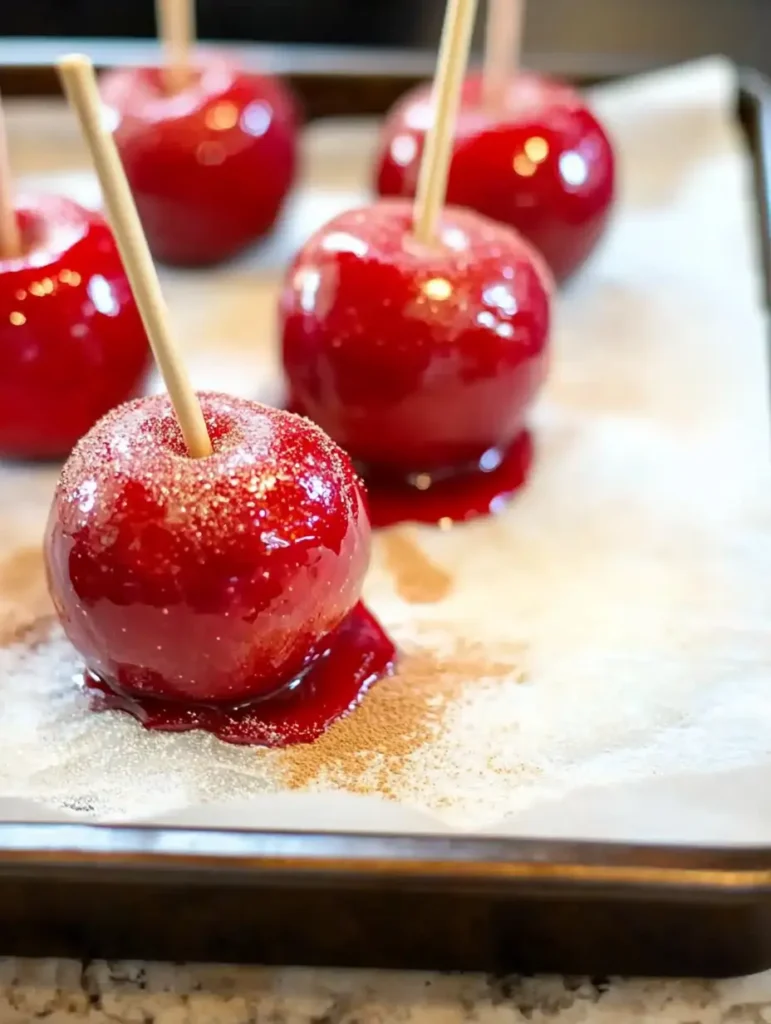
Working quickly, dip each chilled apple into the hot candy mixture, twirling to coat evenly. Let excess coating drip off, then place the apple on a greased baking sheet to cool and harden. Repeat with remaining apples.
- Tilt the pan while dipping for better coverage
- Swirl the apple as you remove it from the coating
- Allow apples to set at room temperature
Troubleshooting Common Candy Apple Problems
Making homemade candied apples can be tricky. Let’s explore some common issues and how to fix them. This way, your candy apple toppings will turn out perfect every time.
Dealing with Bubbles in Coating
Bubbles in your candy coating can ruin the smooth finish. To avoid this, let your syrup cool slightly before dipping. Gently tap the apple on the side of the pot to pop any bubbles that form.
If bubbles persist, try using a toothpick to pop them before the coating sets.
Fixing Uneven Coverage
To fix this, rotate the apple slowly as you lift it from the syrup. Let excess coating drip off, then continue rotating until it stops flowing.
This technique helps achieve an even layer of candy on your homemade candied apples.
Preventing Candy from Crystallizing
Crystallization can ruin your candy coating. To prevent this, avoid stirring the syrup once it starts boiling. Use a pastry brush dipped in water to wash down any sugar crystals that form on the sides of the pot.
Adding a small amount of corn syrup to your recipe can also help prevent crystallization in your candy apple toppings.
Creative Candy Apple Variations and Flavors
Candy apples are a fall favorite, but you don’t have to stick to tradition. Explore exciting flavors and unique twists to elevate this classic treat.
Add warmth with cinnamon-infused coating by mixing ground cinnamon into your candy mixture. For a tropical twist, dip apples in white chocolate and roll them in shredded coconut.
Looking for a spicy kick? Chili-lime candy apples with cayenne pepper and lime zest offer a bold, sweet-and-tangy combo. Other ideas include:
- Salted Caramel: Sprinkle sea salt over freshly dipped caramel apples.
- S’mores: Coat apples in chocolate, then roll in crushed graham crackers and mini marshmallows.
- Peanut Butter Cup: Drizzle melted peanut butter over chocolate-coated apples.
For a grown-up touch, bourbon-infused caramel apples add rich, complex flavor. These creative candy apples are more than just desserts—they’re stunning additions to your fall gatherings.
Decorating Tips and Toppings
Let’s dive into the fun part of making candy apples – decorating! With the right candy apple toppings, you can turn these classic treats into stunning apple treats for Halloween or any special occasion.
Choosing Complementary Garnishes
Pick toppings that pair well with apples. Chopped nuts, caramel bits, and chocolate chips are popular choices. For a tangy twist, try crushed sour candy or flavored sugar crystals. Remember to sprinkle toppings while the candy coating is still warm and sticky.
Working with Sprinkles and Nuts
Sprinkles and nuts can add crunch and color to your candy apples. Pour them into shallow dishes for easy dipping. Roll the coated apple gently in the topping, or use your hands to press them onto the surface. For a neat look, apply sprinkles to just the bottom half of the apple.
Creating Custom Color Combinations
Mix food coloring into your candy coating to create eye-catching hues. Try red and green for Christmas, orange for Halloween, or pastel shades for Easter. You can even swirl multiple colors together for a marbled effect. Experiment with different combinations to make your candy apples stand out.
With these decorating tips, you’ll be ready to create stunning candy apples that taste as good as they look
Storage and Shelf Life Guidelines
Proper storage is key to keeping your homemade candied apples fresh. With the right care, these treats can stay tasty longer. Store them in a cool, dry spot away from sunlight. Room temperature is perfect for short-term storage.
For the best results, wrap each apple in cellophane or plastic wrap. This prevents the candy from sticking to other things and keeps the apples fresh. If you’ll eat them in a day or two, room-temperature storage is fine.
For more extended storage, put the wrapped apples in the fridge. They can stay good for up to two weeks there.
- Room temperature: 1-2 days
- Refrigerated: Up to 2 weeks
- Avoid freezing: This can damage the candy coating
Homemade candied apples might not last as long as store-bought ones because they don’t have preservatives. Always check for spoilage before eating. If the apple feels soft or the candy looks cloudy, it’s time to throw it away.
Safety Tips for Making Candy Apples
Preparing candy apples at home is fun. But safety is the top priority. Here are important tips to keep you safe while making these tasty treats.
Handling Hot Sugar Syrup
Making candy apples involves working with hot sugar syrup. To stir, use long-handled utensils, and wear oven mitts to protect your hands.
Keep children away from the stove. If you get burned, run cool water over the area for several minutes.
Food Safety Considerations
Clean and sanitize all surfaces before starting. Wash apples well to remove dirt or wax. Use fresh ingredients and check expiration dates.
If you’re not eating them right away, store the treats in the refrigerator.
Workspace Setup
Prepare your workspace before starting. Clear the area of clutter. Keep a fire extinguisher nearby.
Place a damp towel next to the stove to wipe up spills quickly. Have all your tools and ingredients ready. This preparation ensures a smooth and safe candy apple-making process.
By following these safety tips, you can enjoy homemade candy apples safely. Patience and care make recreating this fair favorite a breeze.
Serving and Presentation Ideas
Candy apples are great for Halloween and remind us of old-time carnival treats. Let’s look at fun ways to serve and present these sweet treats.
Party Display Arrangements
Place them on tiered stands or rustic wooden crates. Decorate with autumn leaves or fake cobwebs for a spooky feel. Arrange apples at different heights for a cool look.
Packaging for Gifts
Make them into cute gifts. Wrap them in clear cellophane bags with colorful ribbons. Add personalized gift tags for a special touch.
Put apples in small boxes with crinkle paper shreds for a unique look.
Event Planning Tips
Use candy apples in many events:
- Set up a candy apple bar at weddings
- Use them as centerpieces at fall-themed parties
- Create a candy apple station at school fairs
Remember, how you present matters. Use creative serving trays and festive decorations. Choose colors that match your event theme. With these ideas, your candy apples will be the highlight of any event, bringing joy and nostalgia to everyone.
Conclusion
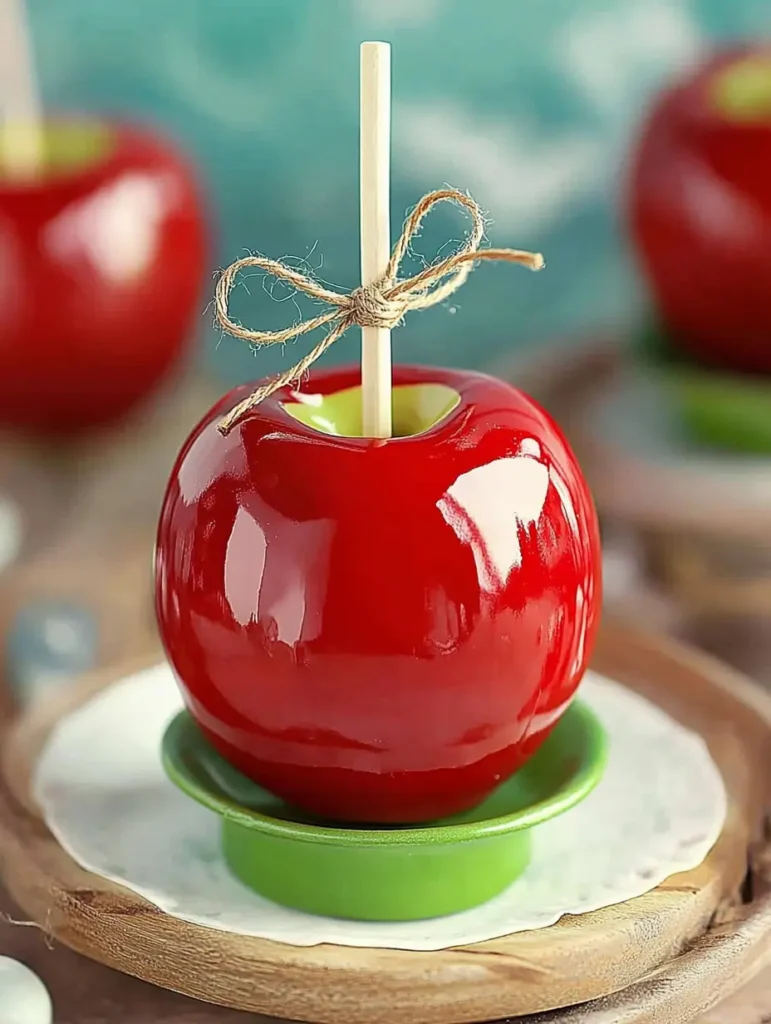
Making candy apples is a fun way to celebrate fall desserts. You’ve learned how to pick the best apples, coat them in candy, and turn simple ingredients into a delightful treat.
They are versatile—you can stick to the classic red candy or experiment with unique colors, flavors, and toppings. They’re perfect for gifts or autumn gatherings, bringing joy to both creators and recipients.
Share the experience by inviting friends or family to make candy apples together. With practice, you’ll create treats that are as beautiful as they are delicious, crafting memories and traditions along the way.
FAQ
Q: Which apples are best for making candy apples?
A: Firm, tart apples like Granny Smith or Honeycrisp work best. Their texture holds up well to the candy coating, and their tartness balances the sweetness.
Q: What is candy apple coating made of?
A: Candy apple coating is typically made with sugar, water, and corn syrup. Food coloring or flavoring can be added for customization.
Q: How do you soak apples for candy apples?
A: Soak apples in warm water with a vinegar or lemon juice splash to remove wax. Rinse and dry thoroughly before coating.
Q: Do you use wax paper or parchment paper for candy apples?
A: Parchment paper is best. It prevents sticking, while wax paper can melt under the heat of the candy coating.
Q: How can I prevent the candy coating from sliding off the apple?
A: Wash apples thoroughly to remove wax, dry them completely, and refrigerate them for 30 minutes before coating. This helps the candy adhere better.
Q: Can I make candy apples without a candy thermometer?
A: Yes, but a thermometer is recommended. Without one, use the cold water test: drop some syrup into cold water. If it hardens into brittle threads, it’s ready.
Q: What’s the difference between candy apples and caramel apples?
A: Candy apples have a hard, glossy coating made from sugar, while caramel apples have a soft, chewy caramel layer.

